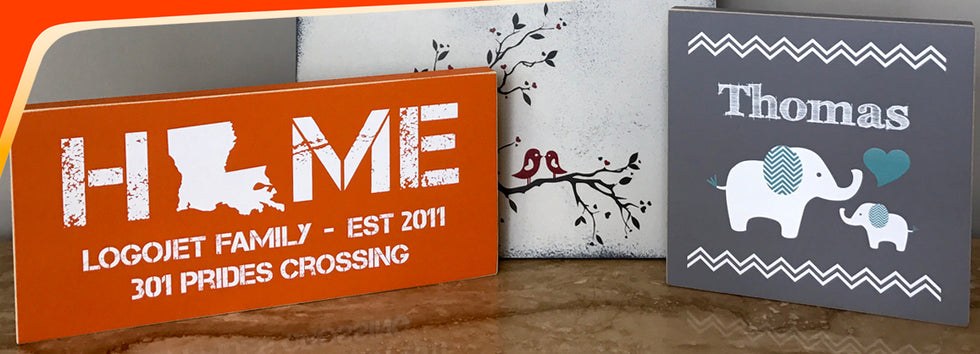
Understanding UV Printing with White Ink
Graphic Design and Setup
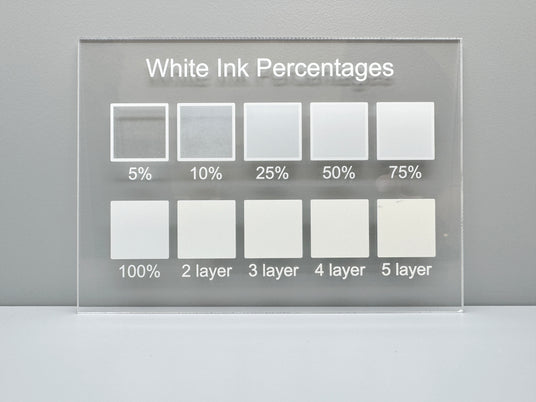
Opacity and Density: Adjust the opacity and density settings of the white ink layer in your design software to achieve the desired
level of whiteness and coverage. The more opacity you use, the more accurate the color printed on top will be, especially when targeting specific PMS colors. Additional opacity can also be achieved by printing multiple layers of white ink. For embellishments like a frosted look, use a lower white ink opacity blended with a low percentage of gloss to create the effect.
File Preparation: Use vector graphics or high-resolution images to ensure crisp and clear prints. Avoid using too many gradients or fine details that might not reproduce well with white ink. The RIP software will provide a seamless white ink workflow. White ink can be selected as a spot color replacement, from Alpha channels within the design, or automatically generated by the RIP.
During the Printing Process
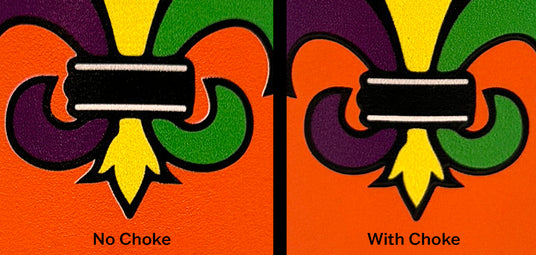
Choking the White Ink: Always "choke" the white ink during the printing process to prevent it from poking through when color is applied on top. This technique is often done in the RIP software, depending on its features. If your software does not facilitate this, ensure that you handle it through separate file preparation to avoid misalignment and color issues.
Printing on Dark Surfaces
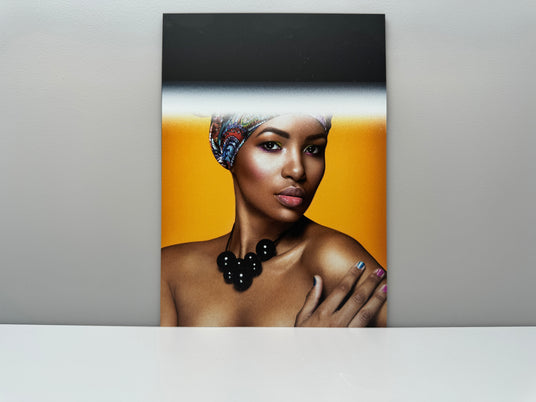
White Ink as a Base Layer: When printing on dark or transparent surfaces, apply a layer of white ink first to create a solid background. This base layer will enhance the visibility and vibrancy of subsequent color layers.
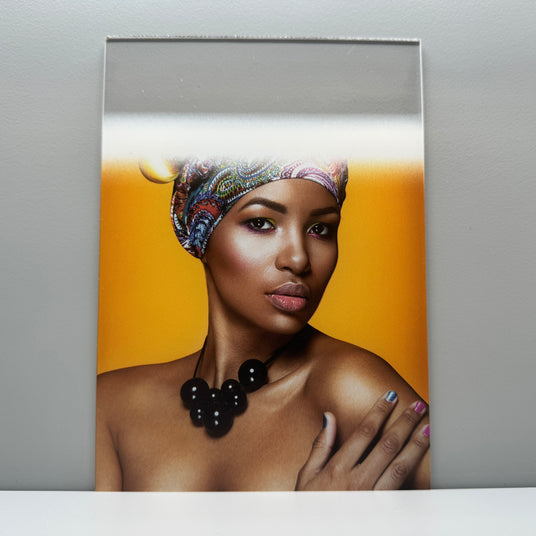
Printing on Transparent Surfaces
White Ink as a Base Layer: When printing on transparent surfaces, CMYK ink may appear dull and less colorful. Adding a white underbase will increase the vibrancy of colors. If the material is backlit, you may also increase the amount of white for increased opacity and color density.
White Ink as a Top Layer or Backer: When printing to glass or acrylic, often times the print is reversed and printed on the inside or what’s referred to second surface printing. This method will require white ink to be applied as a top layer, over the reversed color layer, to create additional opacity to the color and to provide a smooth white exterior surface.

Printing on Textured or Porous Surfaces
White Ink as a Flood Layer: Many materials such as canvas or burlap may be a dull white and porous. Both create a very muted unpleasant output without utilizing white due to both the white point and the porous material absorbing ink. Flood coating the material with a white underbase will allow the colors to pop by limiting the ink absorption and providing a bright white underbase for your graphics.

